Reading time: minute(s)
 Deutsch
 English
 Français
Create and edit the route
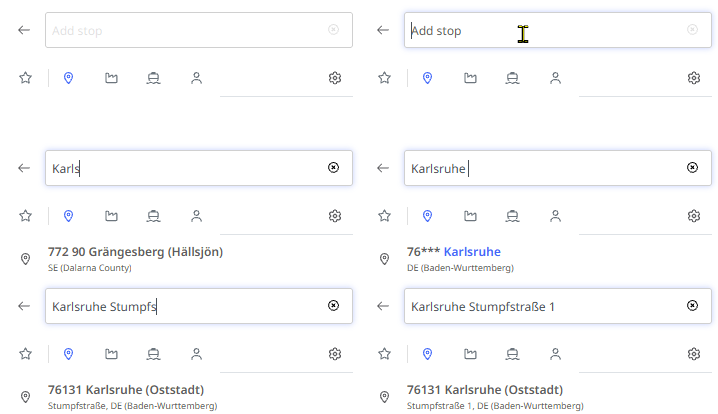
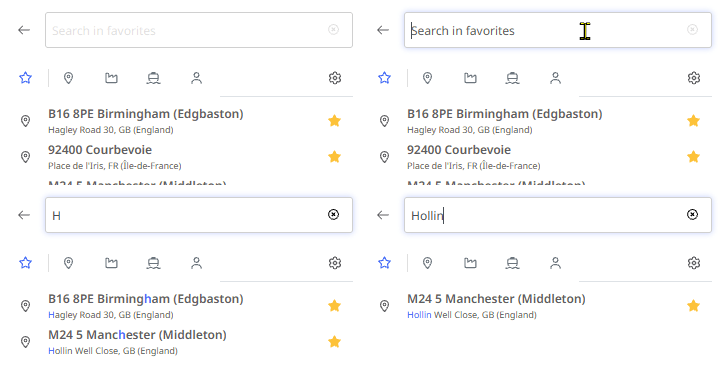
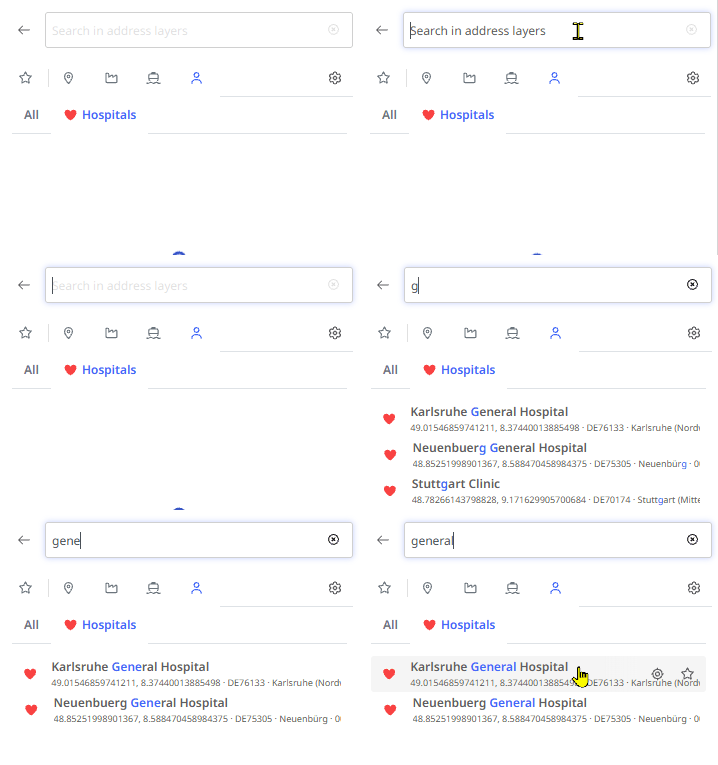
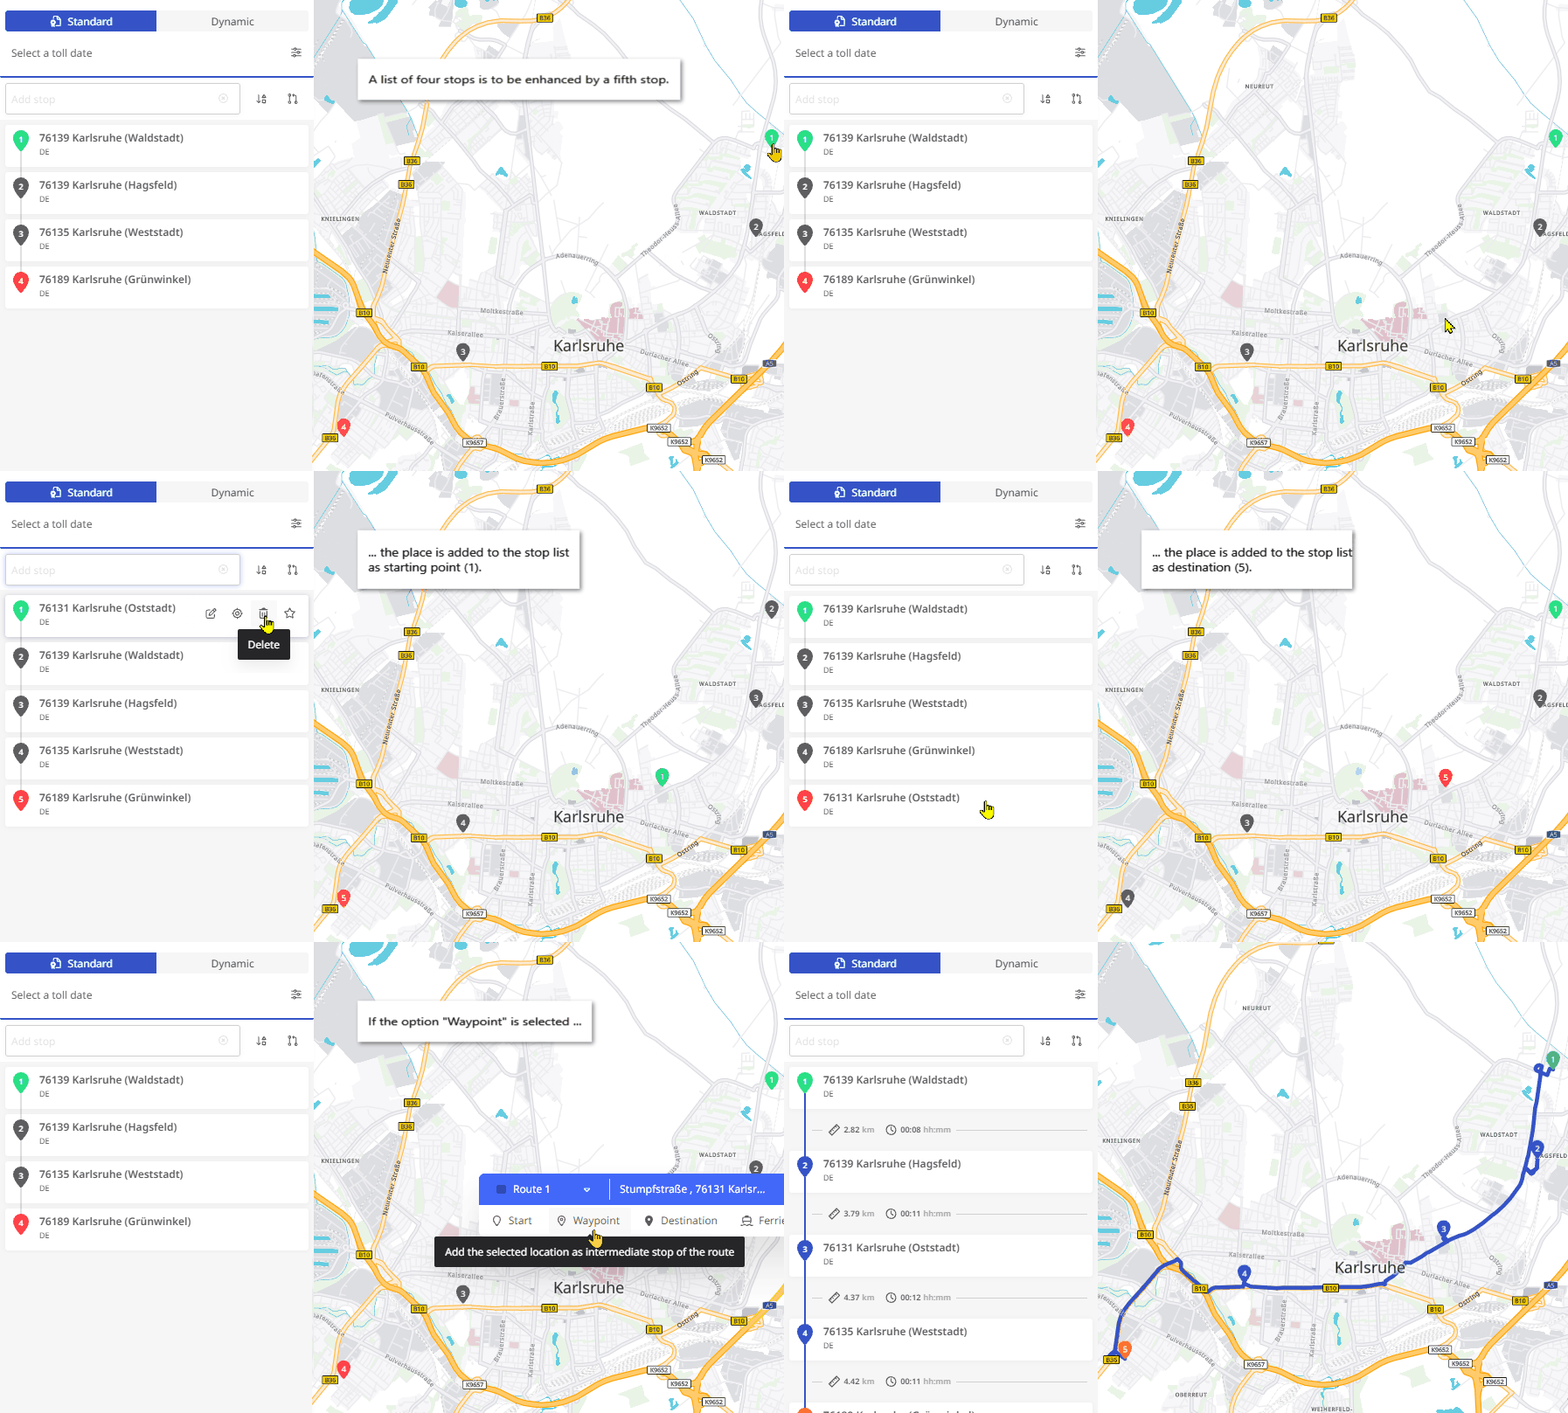
With the route planning module, you can create routes with up to 250 stops. When you start route planning, the map view appears with the panel for creating a new route.
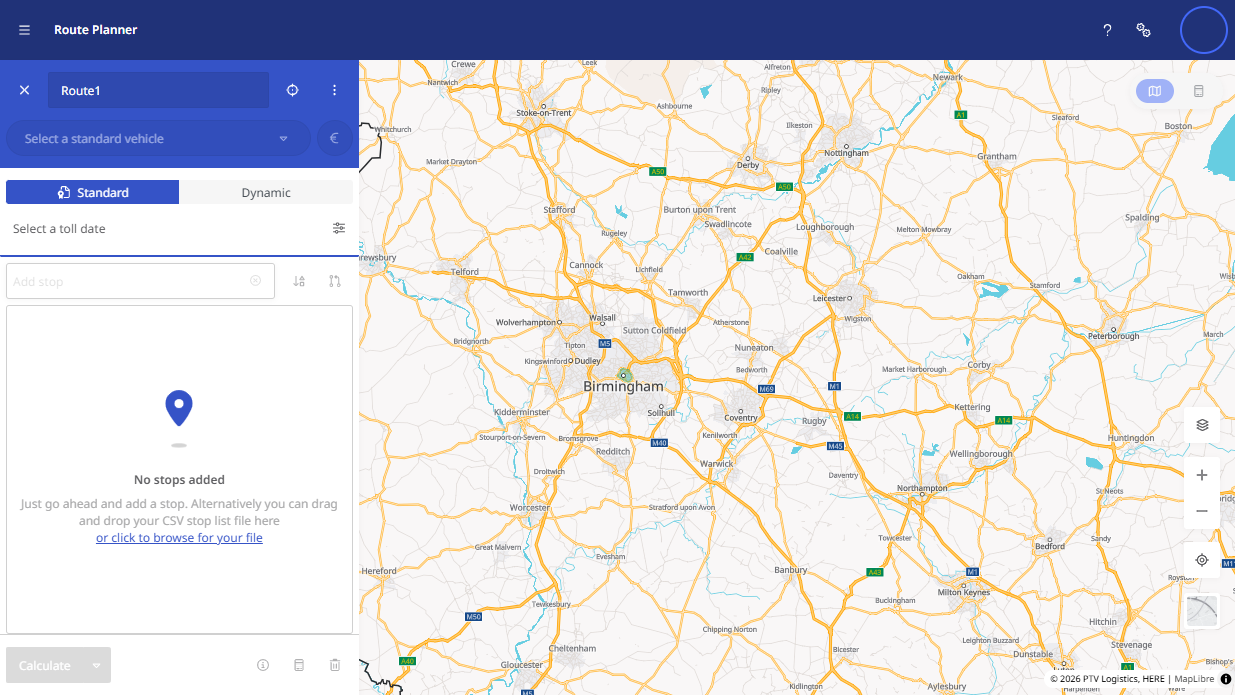
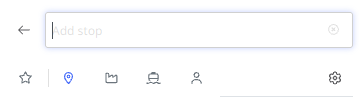
To create and edit a route, follow these steps:
 Create a route
|
|
||||
|
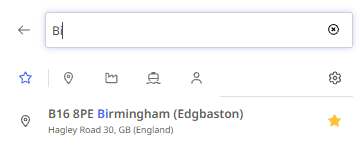
|
||||
|
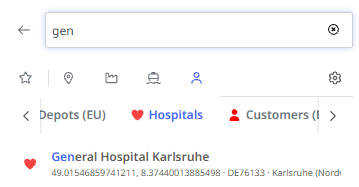
|
||||
|
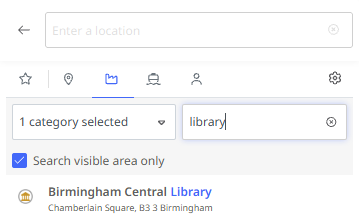
|
||||
|
|||||
|
|
||||
|
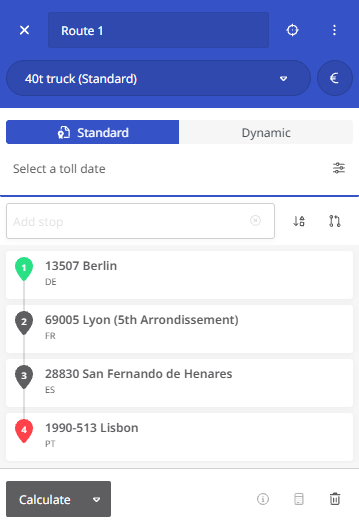
|
||||
|
|
||||
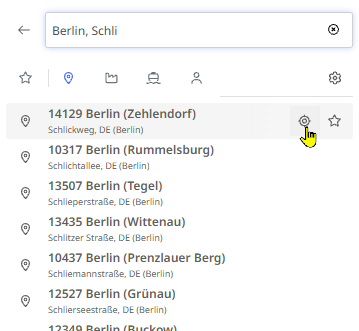

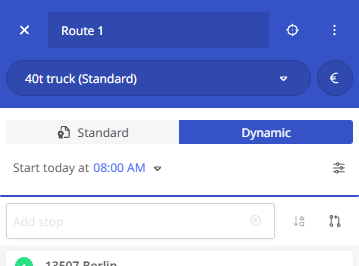
Note: You can change the order of stops by dragging and dropping them in the list. Grab the number of the stop and move it to the desired position.
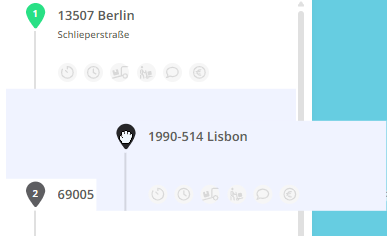
If the route was already calculated in the previous order, you must click the <Calculate> button again, as the result is reset when stops are changed.
-
Route display
-
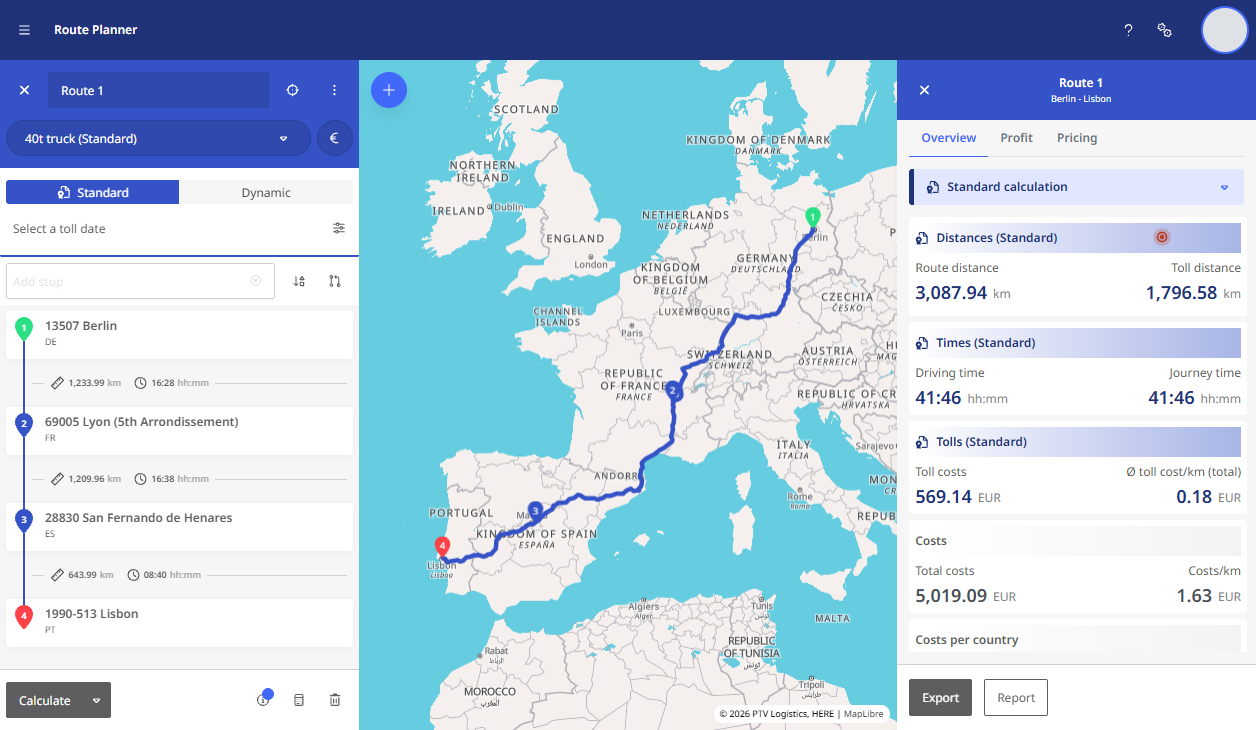
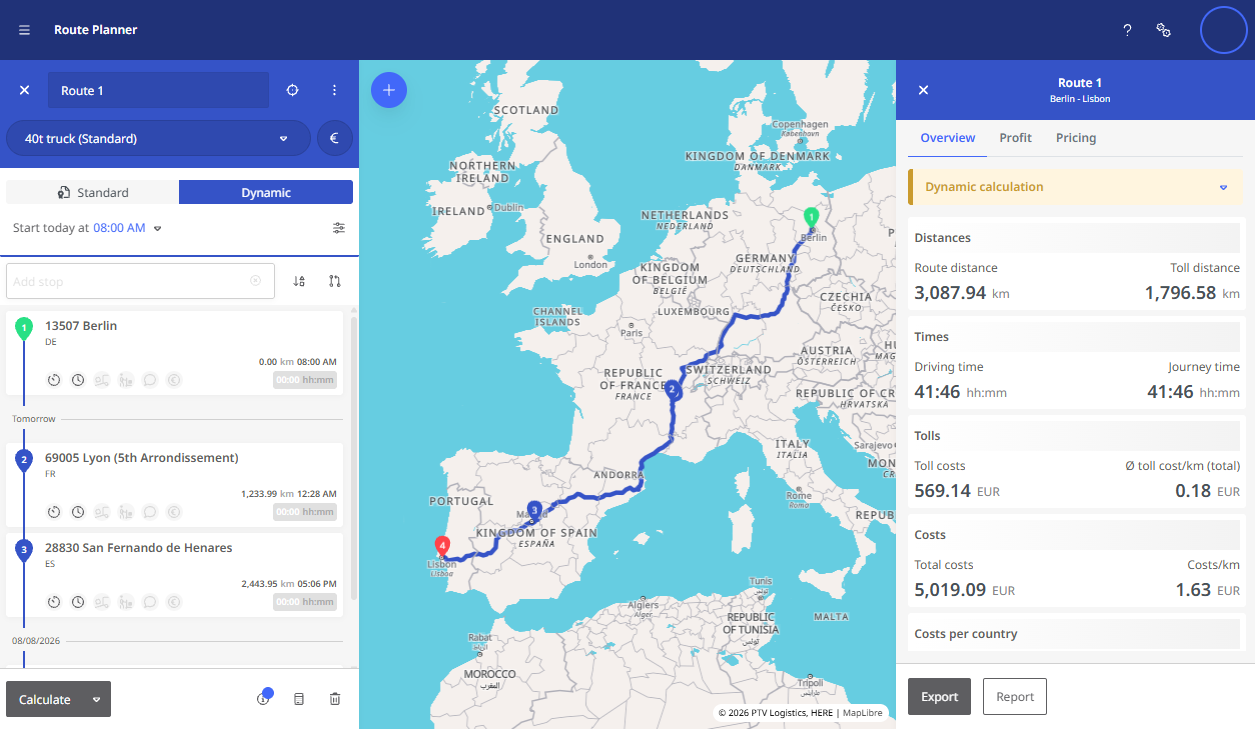
The calculated route is shown on the map.
-
On the left, you see the route sequence as a list (Further information can be found in the chapter “Information in the stop list”).
-
On the right, you get details on:
-
Distance, time, cost, toll
-
Emissions and consumption
-
-
These are based on:
-
Your vehicle and cost profiles
-
Individual stop settings (in dynamic planning)
-
The traffic situation typical for the planned time of the route (in dynamic planning)
-
-
Reverse the Order of a Route
|
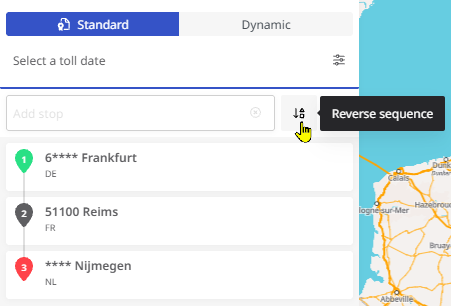
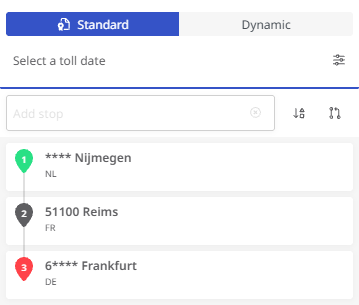
To reverse the order of a route (e.g., to drive the same route in reverse the next day), click the <Reverse Order> button next to the “New Stop” input field at the bottom right. |
|
|
|
The route will then be rebuilt in reverse order and can be recalculated. |
 |
|
Create a Route with Return to Start
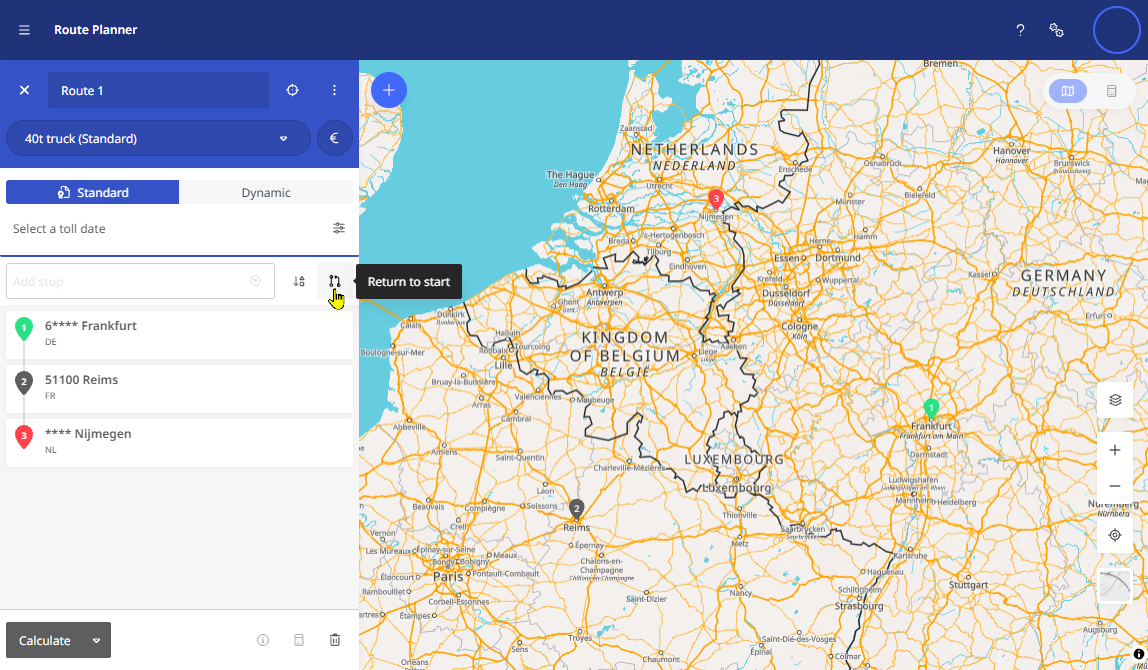
If you want to define a route where the destination is the same as the starting point (a round trip), you can enter the starting point again in the “New Stop” field. Um Ihnen die To avoid re-entering the address, you can alternatively click the <Return to Start> button next to the input field.
|
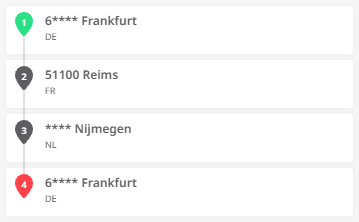
This duplicates the starting point (e.g., “Frankfurt am Main”) and adds it to the end of the stop list. |
|
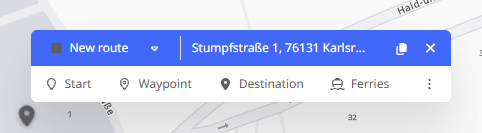
Create Routes with Ferry Connections
By default, routes are calculated avoiding ferry connections. If a ferry can be bypassed (e.g., via a tunnel or reasonable detour), it won’t be selected.
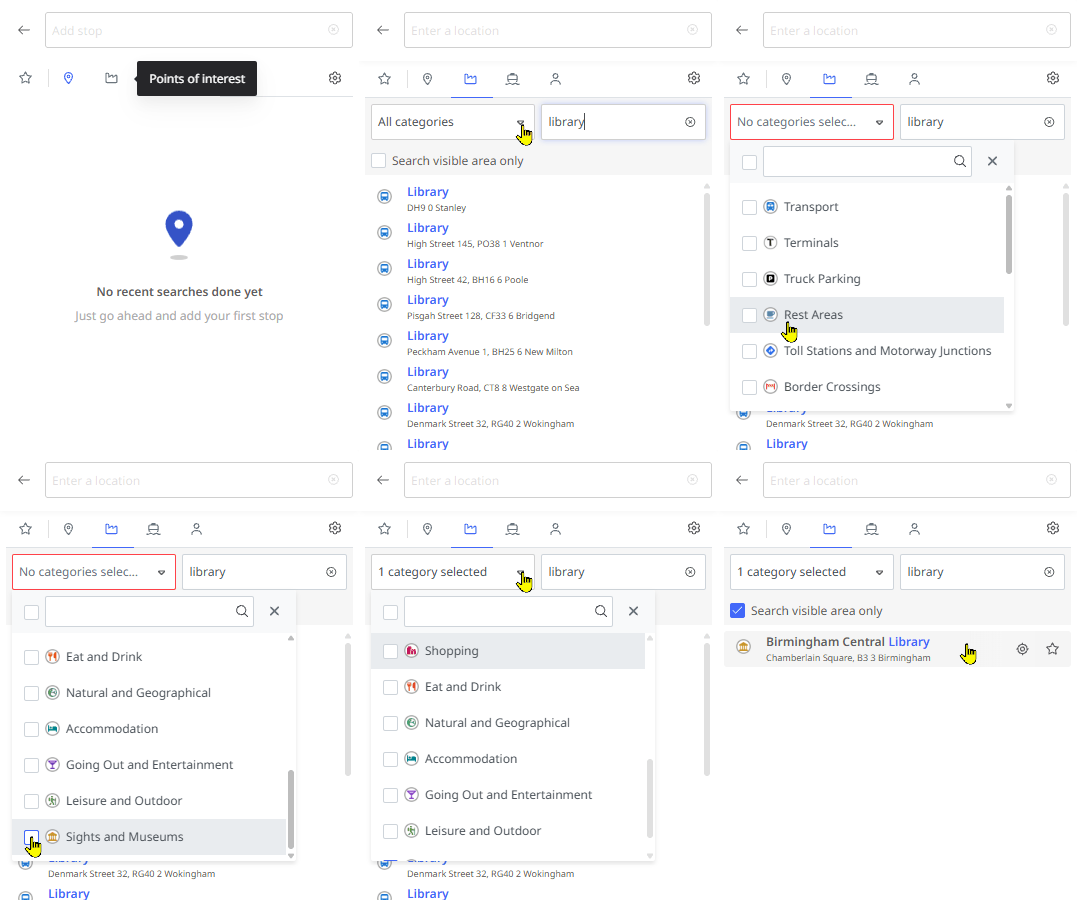
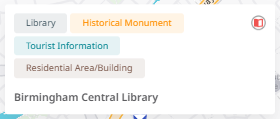
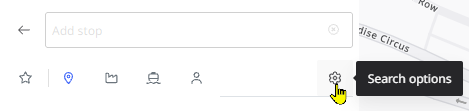
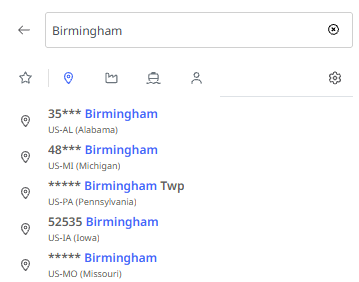
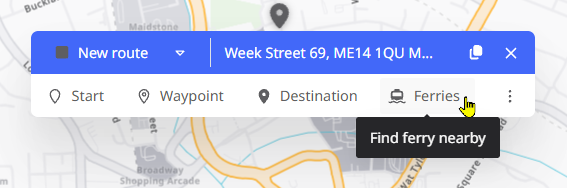
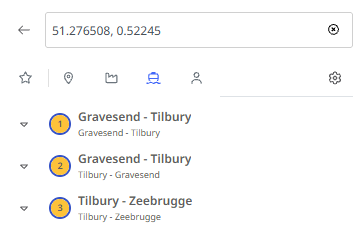
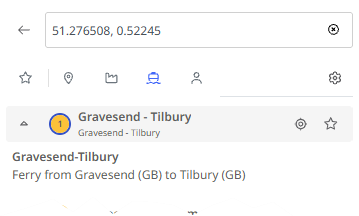
If you want to include a ferry, search for it and add it as a stop:
Proceed as follows:
|
|
|
|
|
|
|
|
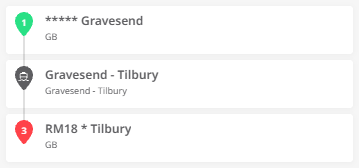
Warning: The ferry connection is automatically added to the stop list at the most suitable position. However, please note the following: A ferry connection cannot be set as the start or end point of a route. If you have not yet defined any other stops in your stop list, or if the ferry connection stop is moved to the beginning or end of the stop list, e.g. by drag & drop, the route cannot be calculated.
You must then either add more stops after the ferry or manually move it within the list.
As long as the ferry is first or last in the list, the route cannot be calculated, and a warning is shown under the ferry connection.
|
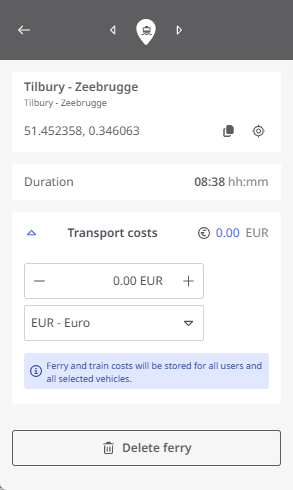
In the detailed view of the stop, the ferry duration is displayed for the ferry in addition to the address and coordinates of the starting point. You can also enter the cost of the ferry connection here so that it is included in the cost calculation for the route. Apart from deleting the stop, no other editing of this stop is possible. |
|
Select a Vehicle Profile
|
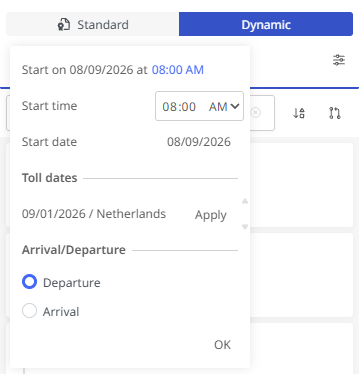
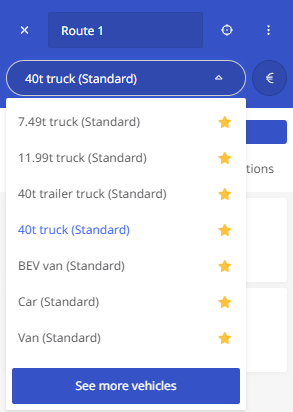
To select a suitable vehicle for your route, click the drop-down switch at the top of the route planner. The favorites list of available vehicles appears (see “Vehicles as favorites“). You can select the desired vehicle profile here. If the desired vehicle is not listed, click <Show More Standard Vehicles> or <Show More Vehicles> to access all vehicles. |
|
|
|
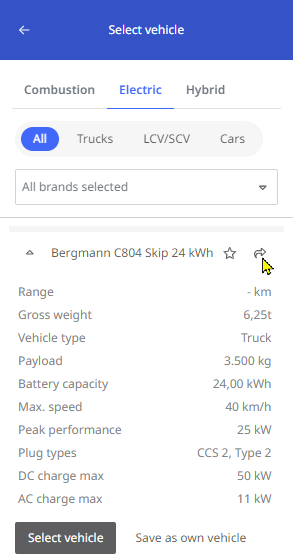
This list is grouped by vehicle categories. For electric vehicles, additional information is available.
Click the arrow button to select a vehicle.
|
 |
|
Note: If you’re using the route planner for the first time, your favorites list may be empty.

You must select at least one vehicle via <Show More Standard Vehicles> or <Show More Vehicles> and optionally add it to your favorites (see “Vehicles as favorites“).
If no vehicle is selected or in your favorites, route calculation is not possible. The <Calculate> button will be inactive, and a tooltip will appear. Optimize the Sequence of a Route
|
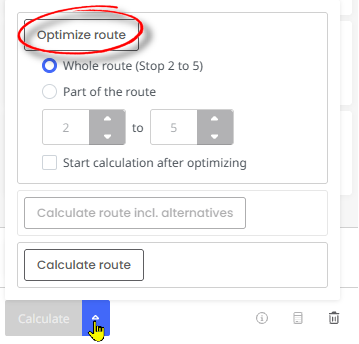
To plan a route efficiently and reduce unnecessary travel (and associated costs), you can use the “Optimize route” function. Stops will be rearranged to create the shortest route. Start and end points remain fixed and are ignored by the optimization.
|
|
Note: The “Optimize sequence” function is available for both the “Standard” and “Dynamic” calculation modes.
Note: The “Optimize selection” function can only be used if your route or stop list contains at least 4 stops.
Note: The “Optimize Selection” function can only be used if your route or stop list contains at least 5 stops.
The route shown here includes stops in Berlin, Karlsruhe and Hamburg on the way from Warsaw to Lyon. | 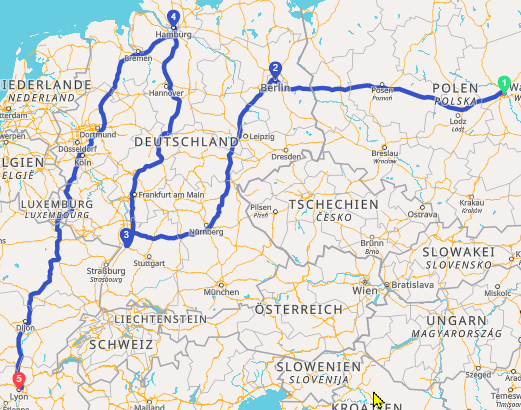 |
By optimizing the sequence for all intermediate stops (stops 2-4), the stops in Hamburg and Karlsruhe are automatically swapped, resulting in a saving of around 1000 kilometers on the journey. | 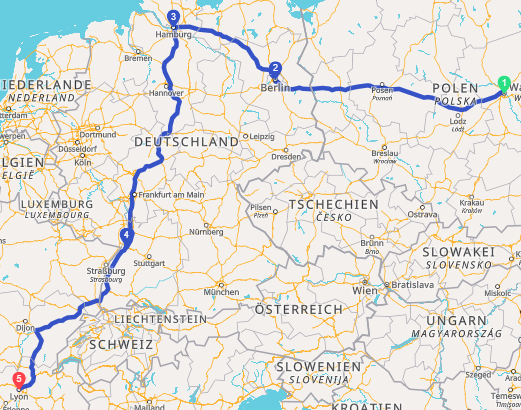 |
However, if only stops 2 and 3 or 3 and 4 are selected for the optimization, the optimization does not lead to any improvement.
Change the route using via points
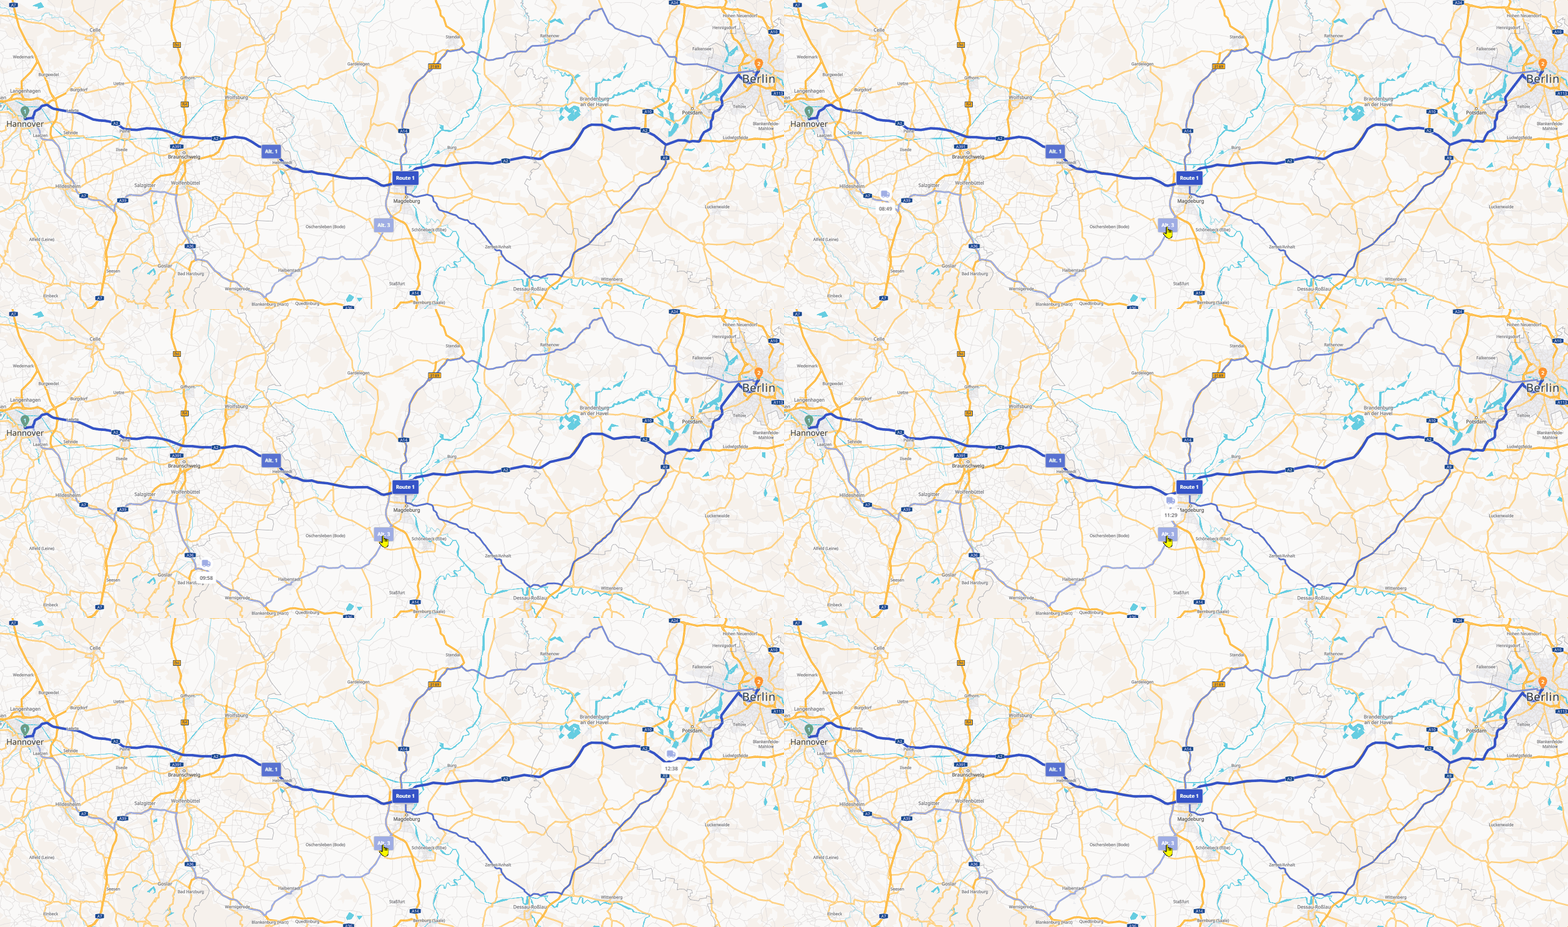
In addition to the automatic calculation of the most suitable route, including alternatives, you can also manually adjust the route. This allows you to direct the route along specific roads (e.g., to bypass a certain area), even if this does not correspond to the optimal route from a mathematical standpoint.
You can change the route by adding via points on the map.
Warning: Via points are listed in the stop list, but not as stops. Therefore, there is no way to edit details (service time, loading, etc.) for via points. However, when the route is exported, the via points are written to the CSV file as coordinates.
Via points can be added in two ways:
-
by selecting a location on the map as a via point
-
by changing the course of the route using drag-and-drop
Note: You can only change the course of the route using drag-and-drop if you have calculated the route in dynamic mode.
Create via points by selecting a location on the map
If you want your route to pass by a specific location, even if the automatic route calculation does not , you can select that location on the map and set it as a via point.
Note: You can only add a via point using this method if you have already defined a start and destination for the route—otherwise, the “Via point” option will not appear. |

|
|
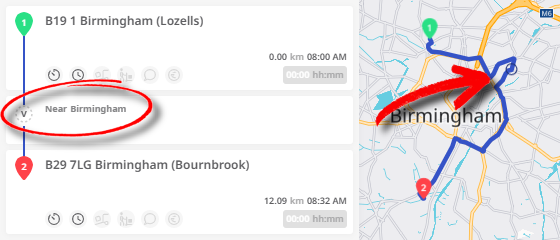
The selected location is now displayed in the stop list as via point. Since these are not stops, only the approximate location is shown rather than the address. The via point is displayed on the map as a small circle. If you calculate the route now, the navigation will be forced to go via the via point. |
|
Add via points using drag-and-drop
Note: You can only add via points using drag-and-drop if you have calculated the route in dynamic mode.
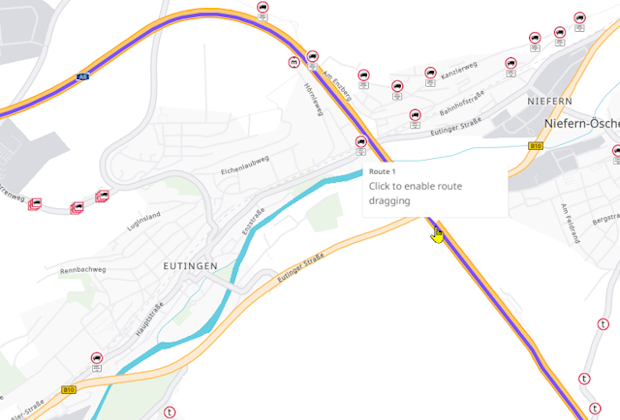
To change the path of your route using drag-and-drop, follow these steps:
|
|
|
|
|
|
|
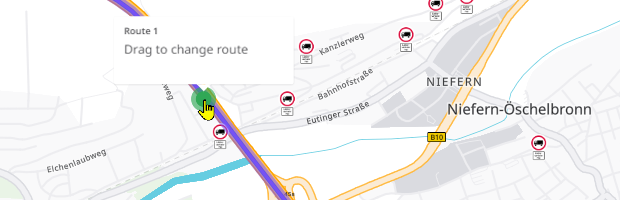
Your route is now being recalculated. If you zoom back in on the affected area, you can see how the new route goes through it. The via point is shown on the map as a small circle. |
|
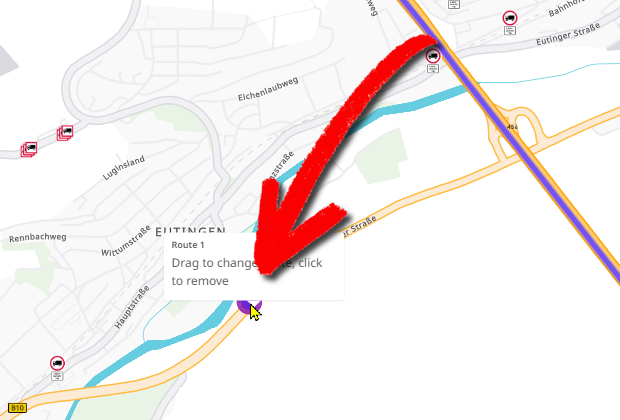
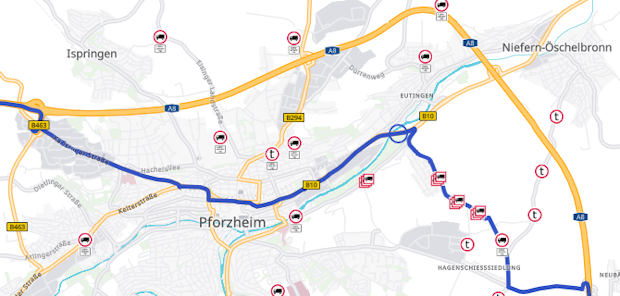
|
Note: The accuracy of a via point created using drag-and-drop depends on the zoom level in the map view. The larger the area displayed on the map, the less accurate the via point will be (deviations of up to 10 kilometers). However, in areas where the map is zoomed in very closely, a high degree of accuracy (deviations of up to 10 meters) can be achieved. The created via point is now displayed in the stop list. Since these are not stops, only the approximate location is shown rather than the address. As long as you do not discard the route, the via points will remain. So if you add additional stops, the new, modified route will be calculated using the via points you’ve set. The via points will also remain visible on the map. If you export the route as a CSV file, the waypoints will be included in it.
In this case, only the file columns M (length), N (width), Q (search radius), and AB (charge) contain values. |
|

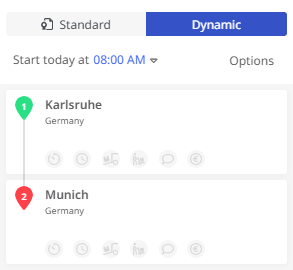 Move via points
To move individual via points, follow these steps:
|
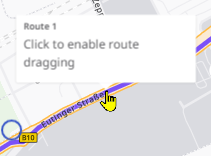
|
|
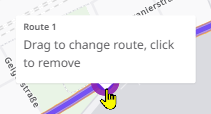
|
|
The route will now be recalculated using the new location of the via point. |
|
Note: You can only move a via point using drag-and-drop if you have calculated the route in dynamic mode.